DKIM, SPF, DMARC for Cold Email Deliverability: The Automated Setup Guide
A complete automated guide to DKIM, SPF, and DMARC setup for better cold email deliverability and domain protection.

Cold email has evolved. What once worked with a simple SMTP setup and a list of prospects now requires a carefully engineered authentication layer. If your emails are not properly authenticated, they are either landing in spam or not being delivered at all. This is where DKIM, SPF, and DMARC setup becomes critical.
Email providers like Gmail, Outlook, and Yahoo have significantly tightened their filtering algorithms. They rely heavily on authentication protocols to determine whether your email is legitimate or potentially harmful. Without proper authentication, even well-written cold emails fail to reach the inbox.
At a technical level, DKIM, SPF, and DMARC form the backbone of email authentication. They validate your identity as a sender, protect recipients from spoofing, and signal trustworthiness to inbox providers. For cold email campaigns, this trust directly translates into higher deliverability, better open rates, and improved reply rates.
This guide walks you through a structured, automated approach to setting up DKIM, SPF, and DMARC for cold email. Instead of manual guesswork, you will learn how to configure everything efficiently while maintaining scalability.
Understanding the Role of Email Authentication in Cold Email
Before diving into the setup, it is important to understand why these protocols exist and how they function together.
Email authentication is essentially a verification system. When you send an email, receiving servers need to confirm that the message actually came from your domain and was not forged. Without this validation, your email can easily be flagged as suspicious.
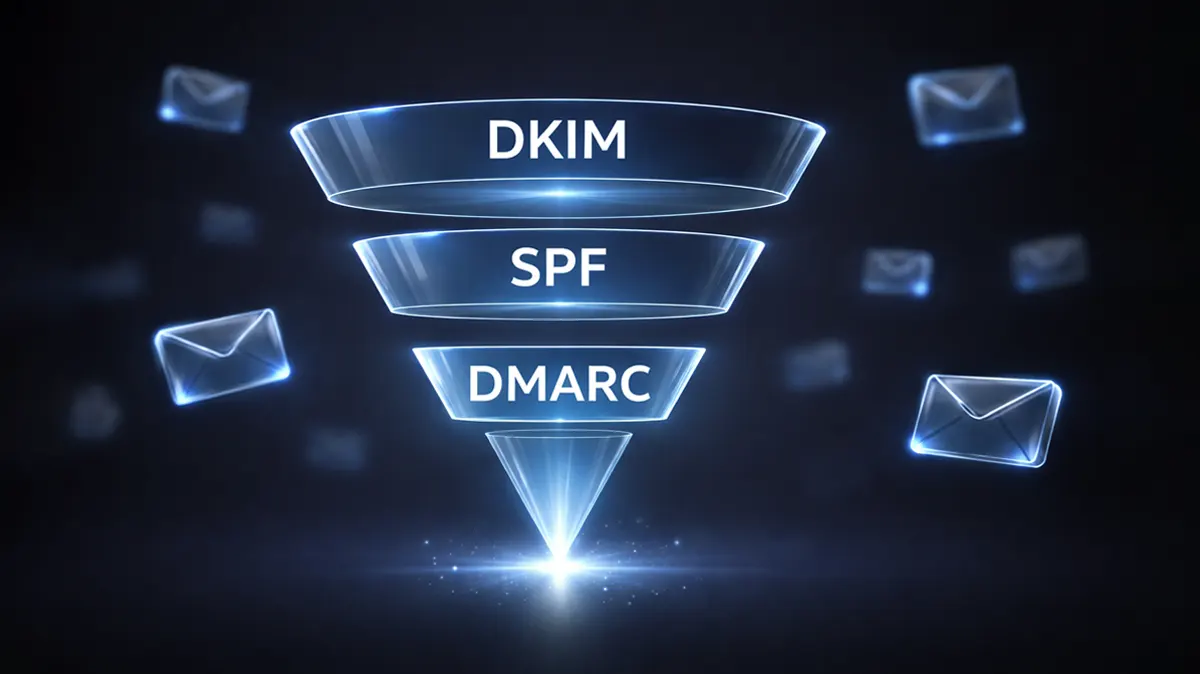
SPF verifies the sending server. DKIM ensures message integrity. DMARC ties both together and defines how failures should be handled.
For cold email specifically, authentication plays an even more critical role. Unlike transactional or inbound emails, cold emails are unsolicited. This means inbox providers scrutinize them more aggressively. If your authentication is weak or misconfigured, your domain reputation suffers quickly.
When properly configured, these protocols build a strong sending identity. They signal that your domain is legitimate, your infrastructure is stable, and your emails can be trusted.
What is SPF and How It Works
Sender Policy Framework (SPF) is the first layer of email authentication. It defines which servers are allowed to send emails on your domain's behalf.
When you send an email, the receiving server checks your domain’s DNS records to verify if the sending IP is authorized. If the IP is not listed, the email may be rejected or marked as spam.
SPF works through a TXT record added to your domain’s DNS. This record contains a list of authorized sending sources, such as your email service provider, CRM tools, or cold email infrastructure platforms.
A typical SPF record might include multiple sources. For example, if you are using Google Workspace along with a cold email tool, both need to be included. The challenge arises when managing multiple tools, as SPF has a lookup limit of 10. Exceeding this limit can break your authentication.
For cold email campaigns, maintaining a clean and optimized SPF record is essential. Overloading it with unnecessary entries or duplicating records can cause failures.
Automation tools can help manage SPF efficiently by consolidating entries and preventing configuration errors. This ensures that your emails consistently pass SPF checks.
What is DKIM and Why It Is Essential
DomainKeys Identified Mail (DKIM) adds a cryptographic signature to your emails. This signature ensures that the content of the email has not been altered during transit.
When an email is sent, DKIM attaches a digital signature to the header. The receiving server then retrieves the public key from your DNS records and verifies the signature. If the verification succeeds, the email is considered authentic.
DKIM is particularly important for cold email because it establishes message integrity. Even if your email passes SPF, a missing or invalid DKIM signature can still hurt deliverability.
Setting up DKIM involves generating a key pair. The private key is stored with your email provider, while the public key is published in your DNS. Once configured, DKIM works automatically for all outgoing emails.
For users of Google Workspace, DKIM setup requires enabling authentication within the admin console and adding the corresponding DNS records. Many cold email tools also provide automated DKIM configuration, reducing manual effort.
A properly configured DKIM setup ensures that your emails remain intact and trusted across different mail servers.
What is DMARC and How It Ties Everything Together
Domain-based Message Authentication, Reporting, and Conformance (DMARC) builds on SPF and DKIM. It defines how receiving servers should handle emails that fail authentication.
DMARC introduces three key elements: policy, alignment, and reporting.
The policy determines what happens when an email fails authentication. You can choose to monitor (none), quarantine, or reject such emails. For cold email campaigns, it is recommended to establish a monitoring policy before moving to stricter enforcement.
Alignment ensures that the domain used in SPF and DKIM matches the domain visible to recipients. This prevents spoofing and strengthens trust.
Reporting provides insights into your email authentication performance. DMARC reports show which emails passed or failed, helping you identify issues in your setup.
DMARC acts as the control layer. It ensures that SPF and DKIM are not just configured but also aligned and enforced correctly. Without DMARC, you lack visibility and control over your authentication system.
The Relationship Between SPF, DKIM, and DMARC
While each protocol serves a specific purpose, their combined implementation is what drives effective email authentication.
SPF validates the sending source, DKIM verifies message integrity, and DMARC enforces policy and alignment. Together, they create a comprehensive authentication framework.
For cold email, this combination is non-negotiable. Relying on just one or two protocols is not sufficient in today’s environment. Inbox providers expect all three to be properly configured.
An automated setup ensures that these protocols are not only implemented but also continuously maintained. This reduces the risk of misconfiguration and improves long-term deliverability.
Automated DKIM SPF DMARC Setup: Step-by-Step Guide
Step 1: Prepare Your Domain Infrastructure
Before configuring authentication, ensure that your domain is properly set up. This includes having access to your DNS provider and verifying domain ownership.
It is also recommended to use a dedicated domain or subdomain for cold email. This isolates your primary domain from potential reputation risks.
For example, instead of sending from your main domain, you can use a subdomain like mail.yourdomain.com. This allows better control and segmentation.
Step 2: Configure SPF Record
Start by creating or updating your SPF record in your DNS settings. Ensure that all authorized sending services are included.
Avoid creating multiple SPF records, as this can cause failures. Instead, consolidate all entries into a single record.
Automation tools can scan your existing configuration and suggest an optimized SPF record. This helps prevent errors such as exceeding lookup limits.
Once configured, test your SPF record using validation tools to ensure it passes checks.
Step 3: Enable DKIM Signing
Next, enable DKIM in your email provider. Generate the DKIM keys and add the public key to your DNS records.
For Google Workspace users, this involves accessing the admin console, generating a DKIM key, and publishing it in your DNS.
After adding the record, activate DKIM signing. It may take some time for DNS changes to propagate, so allow for a short delay before testing.
Verify your DKIM setup to ensure that emails are being signed correctly.
Step 4: Set Up DMARC Policy
Create a DMARC record in your DNS. Start with a monitoring policy (p=none) to collect data without affecting delivery.
Include an email address to receive DMARC reports. These reports provide valuable insights into authentication performance.
After monitoring for a few weeks, gradually move to stricter policies such as quarantine or rejection. This ensures that only authenticated emails are delivered.
Step 5: Automate Monitoring and Maintenance
Authentication is not a one-time setup. Continuous monitoring is required to maintain performance.
Use automation tools to track SPF, DKIM, and DMARC status. These tools can alert you to issues such as failed authentication, DNS errors, or misalignment.
Regular audits help ensure that your configuration remains optimized as you add new tools or change infrastructure.
Common Mistakes in DKIM SPF DMARC Setup
Many cold email campaigns fail due to simple configuration errors. Understanding these mistakes can help you avoid them.
One common issue is having multiple SPF records. This causes validation failures and reduces deliverability.
Another mistake is misaligned domains. If your sending domain does not match your DKIM or SPF domain, DMARC checks may fail.
Ignoring DMARC reports is another critical error. These reports provide insights into authentication issues that might otherwise go unnoticed.
Overlooking DNS propagation time can also lead to confusion. Changes may take several hours to take effect, so testing immediately may not reflect the final configuration.
Finally, not automating the process can result in inconsistencies. Manual setups are prone to errors, especially when managing multiple domains or tools.
Best Practices for Cold Email Authentication
A strong authentication setup goes beyond basic configuration. It requires a strategic approach tailored to cold email.
Start with a clean domain. Avoid using domains with a history of spam or poor reputation.
Use subdomains for cold email campaigns. This isolates your primary domain and provides better control.
Maintain consistency in your sending infrastructure. Frequent changes can trigger spam filters.
Regularly review your DNS records. Ensure that they are up to date and free of errors.
Gradually scale your campaigns. Sudden spikes in sending volume can impact deliverability, even with proper authentication.
Finally, combine authentication with good email practices. Personalization, relevance, and value-driven messaging are equally important.
Tools for Automated Email Authentication Setup
Several tools can simplify the process of setting up DKIM, SPF, and DMARC.
These tools provide guided setup, automated DNS configuration, and continuous monitoring. They help reduce manual effort and improve accuracy.
Some tools also offer deliverability insights, allowing you to track inbox placement and identify issues.
When choosing a tool, look for features such as real-time monitoring, alerting, and integration with your email platforms.
Automation not only saves time but also ensures that your authentication remains consistent and reliable.
Final Thoughts: Build a Reliable Cold Email Foundation
DKIM, SPF, and DMARC are not optional for cold email. They are foundational elements that determine whether your emails reach the inbox or get filtered out.
An automated setup ensures that these protocols are configured correctly and maintained over time. It reduces the risk of errors and improves scalability.
As cold email becomes more competitive, having a strong authentication framework gives you a significant advantage. It allows your messages to be delivered, seen, and acted upon.
Investing in proper DKIM SPF DMARC setup is not just a technical requirement. It is a strategic move that directly impacts your campaign performance and business outcomes.
FAQs
1. How long does DKIM SPF DMARC setup take?
The initial setup can take a few hours, but DNS propagation may take up to 24–48 hours before everything is fully active.
2. Can I use the same domain for cold email and regular emails?
It is not recommended. Using a separate domain or subdomain helps protect your primary domain’s reputation.
3. What happens if my SPF record exceeds the lookup limit?
If the limit is exceeded, SPF validation fails, which can lead to emails being marked as spam or rejected.
4. Do I need DMARC if SPF and DKIM are already set up?
Yes, DMARC is essential for enforcing policies and gaining visibility into authentication performance.
5. How often should I check my email authentication setup?
Regular monitoring is recommended. Ideally, you should review your setup monthly or whenever you add new sending tools.